mirror of
https://github.com/danny-avila/LibreChat.git
synced 2025-12-17 08:50:15 +01:00
* feat(AppService): default secret value warnings

* docs: update docker/ubuntu related guides
202 lines
7 KiB
Markdown
202 lines
7 KiB
Markdown
---
|
||
title: 🐧 Linux
|
||
description: Linux Installation Guides
|
||
weight: 0
|
||
---
|
||
# Linux Installation Guide
|
||
## **Recommended:**
|
||
|
||
[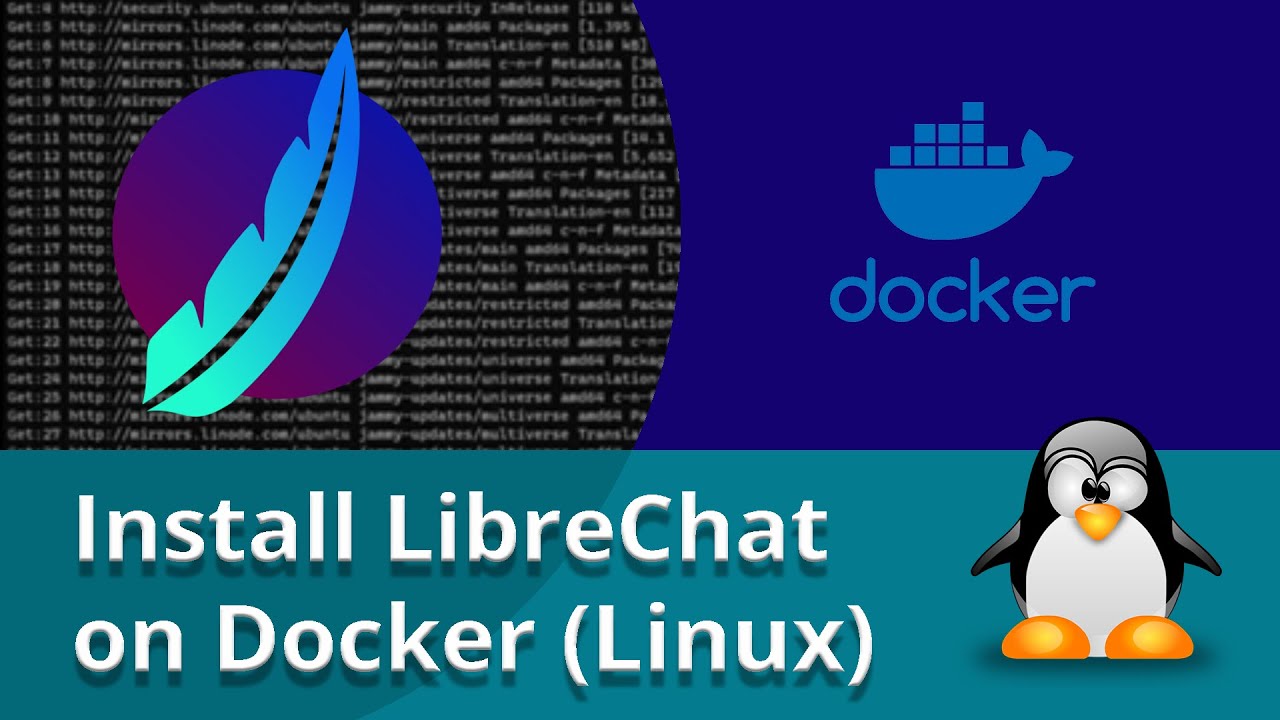](https://youtu.be/w7VqivpdfZk)
|
||
Click on the thumbnail to open the video☝️
|
||
---
|
||
|
||
In this video, you will learn how to install and run LibreChat, using Docker on Ubuntu 22.04 LTS.
|
||
|
||
#### Timestamps
|
||
|
||
- 0:00 - Intro
|
||
- 0:14 - Update the system
|
||
- 0:29 - Clone the repository
|
||
- 0:37 - Docker installation
|
||
- 1:03 - Enter in the folder
|
||
- 1:07 - Create the .env file
|
||
- 1:14 - Build using docker-compose
|
||
- 1:29 - Start LibreChat
|
||
- 1:43 - Test
|
||
|
||
#### Instructions
|
||
|
||
- Update the system: `sudo apt update`
|
||
- Clone LibreChat: `git clone https://github.com/danny-avila/LibreChat.git`
|
||
- Install Docker: `sudo apt install docker.io && apt install docker-compose -y`
|
||
- Enter the folder: `cd LibreChat`
|
||
- Create the .env file: `cp .env.example .env`
|
||
- Build the Docker image: `docker compose build`
|
||
- Start LibreChat: `docker compose up -d`
|
||
|
||
#### Notes
|
||
|
||
- As of Docker Compose v2, `docker-compose` is now `docker compose`
|
||
- Your linux distribution may not have the latest version of Docker Compose, so you may need to use `docker-compose` instead of `docker compose`
|
||
- You can also see our guide on installing the latest versions of Docker & Docker Compose here: [Docker Ubuntu Deployment Guide](../../deployment/docker_ubuntu_deploy.md#part-i-installing-docker-and-other-dependencies)
|
||
- The guide is specific to Ubuntu but may be applicable to other Linux distributions as well
|
||
|
||
- If you run the command on the same computer and want to access it, navigate to `localhost:3080`. You should see a login page where you can create or sign in to your account. Then you can choose an AI model and start chatting.
|
||
|
||
- [Manage Your MongoDB Database (optional)](../../features/manage_your_database.md)
|
||
Safely access and manage your MongoDB database using Mongo Express
|
||
|
||
#### Have fun!
|
||
|
||
> Note: See the [Docker Compose Install Guide](./docker_compose_install.md) for more details
|
||
- 👆 Docker Compose installation is recommended for most use cases. It's the easiest, simplest, and most reliable method to get started.
|
||
|
||
---
|
||
|
||
## **Manual Installation:**
|
||
|
||
## Prerequisites
|
||
|
||
Before installing LibreChat, make sure your machine has the following prerequisites installed:
|
||
|
||
- Git: To clone the repository.
|
||
- Node.js: To run the application.
|
||
- MongoDB: To store the chat history.
|
||
|
||
## Clone the repository:
|
||
|
||
```bash
|
||
git clone https://github.com/danny-avila/LibreChat.git
|
||
```
|
||
|
||
## Extract the content in your desired location:
|
||
|
||
```bash
|
||
cd LibreChat
|
||
unzip LibreChat.zip -d /usr/local/
|
||
```
|
||
|
||
Note: The above command extracts the files to "/usr/local/LibreChat". If you want to install the files to a different location, modify the instructions accordingly.
|
||
|
||
## Enable the Conversation search feature: (optional)
|
||
|
||
- Download MeiliSearch latest release from: **[github.com/meilisearch](https://github.com/meilisearch/meilisearch/releases)**
|
||
- Copy it to `/usr/local/LibreChat/`
|
||
- Rename the file to `meilisearch`
|
||
- Open a terminal and navigate to `/usr/local/LibreChat/`
|
||
- Generate a Master Key or use the one already provided in th `.env` file (less secure)
|
||
- Update the Master Key in the .env file (it must be the same everywhere) `MEILI_MASTER_KEY=`
|
||
- Run the following command:
|
||
|
||
```bash
|
||
./meilisearch --master-key=YOUR_MASTER_KEY
|
||
```
|
||
|
||
Note: Replace `YOUR_MASTER_KEY` with the generated master key, which you saved earlier in the `.env` file.
|
||
|
||
## Install Node.js:
|
||
|
||
Open a terminal and run the following commands:
|
||
|
||
```bash
|
||
curl -fsSL https://deb.nodesource.com/setup_lts.x | sudo -E bash -
|
||
sudo apt-get install -y nodejs
|
||
```
|
||
|
||
## [Create a MongoDB database](../configuration/mongodb.md) (Required)
|
||
|
||
## [Setup your AI Endpoints](../configuration/ai_setup.md) (Required)
|
||
- At least one AI endpoint should be setup for use.
|
||
|
||
## [User/Auth System](../configuration/user_auth_system.md) (Optional)
|
||
- How to set up the user/auth system and Google login.
|
||
|
||
## Run the project
|
||
|
||
### Using the command line (in the root directory)
|
||
Setup the app:
|
||
|
||
1. Run `npm ci`
|
||
2. Run `npm run frontend`
|
||
|
||
## Start the app:
|
||
1. Run `npm run backend`
|
||
2. Run `meilisearch --master-key put_your_meilesearch_Master_Key_here` (Only if SEARCH=TRUE)
|
||
3. Visit [http://localhost:3080](http://localhost:3080) (default port) & enjoy
|
||
|
||
### Using a shell script
|
||
|
||
- Create a shell script to automate the starting process
|
||
- Open a text editor
|
||
- Paste the following code in a new document
|
||
- Put your MeiliSearch master key instead of "your_master_key_goes_here"
|
||
- Save the file as "/home/user/LibreChat/LibreChat.sh"
|
||
- You can make a shortcut of this shell script and put it anywhere
|
||
|
||
``` bash title="LibreChat.sh"
|
||
#!/bin/bash
|
||
# the meilisearch executable needs to be at the root of the LibreChat directory
|
||
|
||
gnome-terminal --tab --title="MeiliSearch" --command="bash -c 'meilisearch --master-key your_master_key_goes_here'"
|
||
# ↑↑↑ meilisearch is the name of the meilisearch executable, put your own master key there
|
||
|
||
gnome-terminal --tab --title="LibreChat" --working-directory=/home/user/LibreChat/ --command="bash -c 'npm run backend'"
|
||
# this shell script goes at the root of the LibreChat directory (/home/user/LibreChat/)
|
||
```
|
||
|
||
## Update the app version
|
||
|
||
- Run `npm run update` from the project directory for a clean installation.
|
||
|
||
If you're having issues running this command, you can try running what the script does manually:
|
||
|
||
Prefix commands with `sudo` according to your environment permissions.
|
||
|
||
```bash
|
||
# Bash Terminal
|
||
|
||
# Step 1: Get the latest changes
|
||
|
||
# Fetch the latest changes from Github
|
||
git fetch origin
|
||
# Switch to the repo's main branch
|
||
git checkout main
|
||
# Pull the latest changes to the main branch from Github
|
||
git pull origin main
|
||
|
||
# Step 2: Delete all node_modules directories
|
||
# Define the list of directories we will delete
|
||
directories=(
|
||
"."
|
||
"./packages/data-provider"
|
||
"./client"
|
||
"./api"
|
||
)
|
||
|
||
# Loop over each directory and delete the node_modules folder if it exists
|
||
for dir in "${directories[@]}"; do
|
||
nodeModulesPath="$dir/node_modules"
|
||
if [ -d "$nodeModulesPath" ]; then
|
||
echo "Deleting node_modules in $dir"
|
||
rm -rf "$nodeModulesPath"
|
||
fi
|
||
done
|
||
|
||
# Step 3: Clean the npm cache
|
||
npm cache clean --force
|
||
|
||
# Step 4: Install dependencies
|
||
npm ci
|
||
|
||
# Step 5: Build client-side (frontend) code
|
||
npm run frontend
|
||
|
||
# Start LibreChat
|
||
npm run backend
|
||
```
|
||
|
||
The above assumes that you're using the default terminal application on Linux and are executing the commands from the project directory. The commands are written in Bash, which is a common default shell for many Linux distributions. While some systems might use other shells like `zsh` or `fish`, these commands should be compatible with most of them.
|
||
|
||
---
|
||
|
||
>⚠️ Note: If you're having trouble, before creating a new issue, please search for similar ones on our [#issues thread on our discord](https://discord.librechat.ai) or our [troubleshooting discussion](https://github.com/danny-avila/LibreChat/discussions/categories/troubleshooting) on our Discussions page. If you don't find a relevant issue, feel free to create a new one and provide as much detail as possible.
|